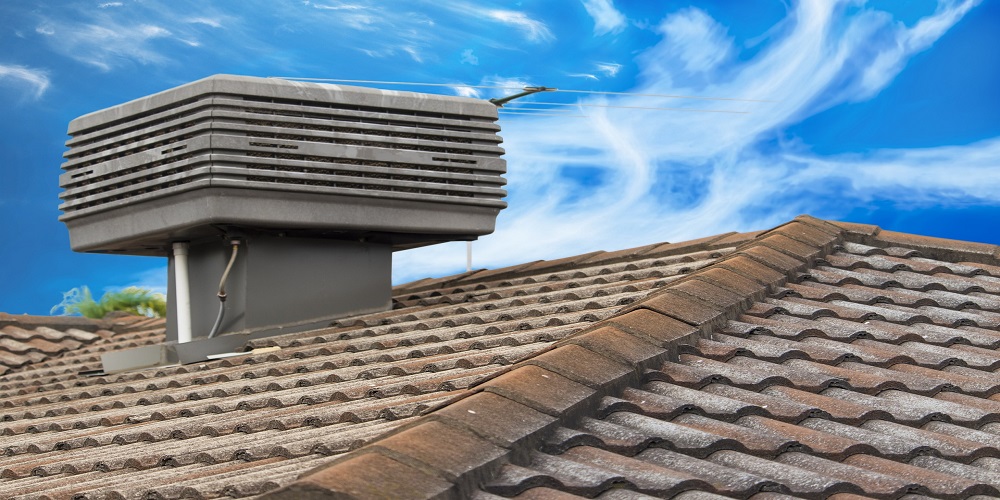
Replace roofing tiles in 7 steps
Sooner or later, replacing your roofing tiles becomes imperative. The warranty period might be ending, or the roof has become seriously damaged, needing frequent repairs. Whatever the reason, understanding the replacement process will benefit you. Whether you choose to do it yourself or call a roofing company, it is good to know what goes on at every stage of the process.

Step #1 – Prepare
If you are hiring a professional or doing it yourself, you want first to prepare. You need to determine the size of the roof and the quantity of tiles you would need. At this stage, an attic insulation expert can offer the best advice. If you hire these professionals, this is the step where they also give you a quote after assessing the project and taking all necessary measurements. This is the step to start clearing the driveway. Ensure all items and cars are not in the path during the work. Gather items needed for the project, such as ladders and safety tools.
Step #2 – Gather the things you need
In addition to safety equipment, everything else you need should be within your reach. Therefore, ensure the new roofing tile is at hand. Make a checklist of all the required items and ensure they are all close by.
Step #3 – Detach the old roof
Some people make the mistake of putting the new roofing tiles on top of the old. This would cause improper laying of the tiles, shortening their lifespan. It is better to remove the old roofing tiles and replace them with the new ones completely.
Step #4 – Inspect the deck
This step is very important. It lets you see any potential problem that may arise when laying the new tiles. A thorough inspection is necessary. Check for cracks, molds, or anything that can cause an issue later. Fix these before replacing the roofing. Change any weak wood and replace any missing nails.
Step #5 – Prepare the deck for the roofing
After inspecting and fixing any suspected problems, the surface should be smooth. This may require a construction expert if you are doing the job without a professional. They will need to work on the chimney and vent to create a good underlay. This prevents any future leakage.
Step #6 – Place the roofing tiles
Now comes the most important task, which is placing the tiles. At this stage, you already have accurate measurements. It is better to begin from the bottom to the top slope. Ensure the tiles overlap each other in such as way that way slides down, not remain on the roof. You want to avoid retaining the moisture.
Step #7 – Examine the job
Finally, ensure you check the job to ensure everywhere is covered and there are no leaks. Clean out the site and remove all hazardous items. Clean out the dirt and dispose of the old roofing properly. With these simple steps, you should encounter no issues replacing your roofing tiles. And if a professional works with you, the process is simple and trouble-free.

